Secure Printing Introduction
Without Secure Printing, sending confidential information to a copier located in a public area such as a hospital, school, library, print shop, etc. can potentially place that information in front an unattended audience. Fortunately, there are measures institutions can take to make the process of printing sensitive information more secure.
Keeping private information…private
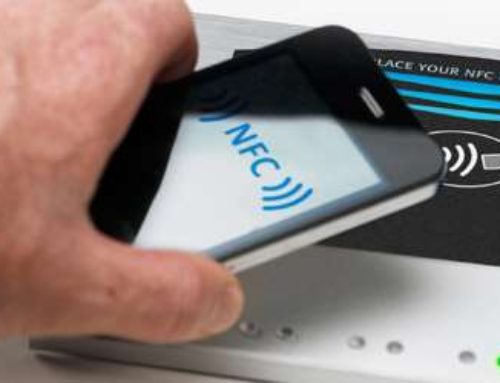
Once the security options are requested through the print driver, secure printing requires the sender to be present at the copier and use a predetermined authentication method before the copier will begin printing the documents. These methods include the use of a user name and password set by the user, biometric authentication (finger print), or the use of an IC (aka smart card) linked to the user. Once identification has taken place, printing can begin. As each page is printed, data stored on the copier’s hard drive about the document is deleted. This prevents the document from being printed or read by someone else at a later time.
That’s not all
Secure Printing actually extends beyond printing. Documents scanned on the copier can be embedded with a user name and password. Documents emailed from the copiers user interface can be embedded with a security key which the recipient will need before the document can be read. System administrators can also prevent users from sending scanned documents to an email address entered manually. This lowers the risk documents from going outside the organization to unknown recipients. These are just a few of the possibilities.
There may come a time when the copier will need to be moved to another location, sold, or be retired. Konica Minolta has added a “HDD Sanitizing” function to it’s copiers. This feature overwrites all the data on the copier’s hard drive, destroying any traces of data that might be of a sensitive nature. The methods used are approved by governments, military and international organizations.
For more information about Konica Minolta’s security features, click here
Related features: i-Options


Leave A Comment
You must be logged in to post a comment.